Greeting all. First of my end of 2017 Xenos projects approaches completion. Had a load of harlequins from death masque boxes that I’ve been meaning to assemble for about a year now to turn my old metal squad into an independent fighting force. Both before and after this process of assembly I maintain that these are some of the most gorgeous models produced by GW. I based them using the same green stuff technique seen on my blog HERE to fit wth the rest of the Eldar.
The army design is very simple in no small part due to the limited units available. I’m very happy with them as of now and the only expansions I would consider are a few more skyweavers and another star Weaver, as transports seem key in this edition. The theme is that they are a troupe of outcast and wanderers gathered together and called the Danse macabre. Each individual will have their own costume and colour scheme for variety.
Having had one game in 8th with them now, I really love the synergy and speed the army plays with, though they are an extreme glass cannon. I played vs death guard, so pretty much the opposite type of army to mine. I clinched the win by just about hanging on and being cowardly in the last turns (ambush with me as attacker) but my strategy in the first turns, to cripple his mobile units, held true.
Though I’m no expert on tactics, I’ve played with them once and read through the rules / watched several batreps and so may come back to write a small article on them later on with my thoughts on which units to take. For now the army stands as follows:
3x troupe masters
2x death jesters
2x shadowseers
1x solitaire
37x players
6x skyweavers
3x star/voidweavers
As an aside, the photos obviously show they are unpainted save for the older models. Keen eyes will spot that the paint on them has actually been stripped. This mishap occurred on my first venture with Corax white spray. I followed my usual spray method of prewarming, shaking throughly, correct distance etc (and also sprayed some other models black at the same time which turned out fine). Sadly, the whole batch ended up with a rough textured finish effectively ruining them. I turned to paint stripping with Dettol which worked really well. I also felt compelled to write to gw about the issue who, to my surprise, engaged very well on the matter. I provided photos and proof of purchase and in turn received some black spray and store credit. Kudos gw and goes to show, don’t ask = don’t get. Right, gonna go spray them now, properly this time. Cheers.
Labels
- Adeptus Mechanicus (8)
- articles (43)
- Assassins (3)
- campaign (4)
- chaos daemons (4)
- chaos space marines (16)
- Custodes (1)
- dark eldar (2)
- eldar (45)
- genecults (1)
- harlequins (3)
- Imperial Guard (5)
- Imperial Knights (5)
- modelling (23)
- necrons (13)
- orks (5)
- Painting (9)
- sisters of battle (1)
- Skitarii (4)
- Talons of the Emperor (1)
- tau (11)
- Thousand Sons (2)
- tyranids (10)
Showing posts with label modelling. Show all posts
Sunday, 29 October 2017
Tuesday, 3 October 2017
Eldar craftworlds bases tutorial
Hi folks,
I am about to make the transition from my marine projects being better stage and non-marine projects taking a back seat, to the reverse. This will entail only ticking the final few boxes on my marine projects over the next few months while spending more time on both finishing up older no -marine projects as well as bringing some new armies to the fore, namely harlequins, talons, admech and genecults.
Presently I am assembling my harlequins which I accumulated during the release of death masque. I'm almost there with assembling everything and have now turned my attention to basing. I had always intended to use the same basing scheme with them as with my alaitoc eldar, and with the introduction of the ynnari I also intend to rebase my dark eldar in the same way so as to add unifomirty to the aeldari.
Previously, my basing theme was wraithbone, in this case an ulthuan grey shade, with swirling geometric shapes on them. This was designed to fit somewhat with the shapes seen on the wraithlord 60mm base. It was quite simple to execute, by pressing a layer of greenstuff atop the base and then carving some swirls into it. However, over time I have perfected it somewhat to the point where you can make a base in less than 2 minutes and so I thought I would share it as a tutorial.
What you'll need:
Plain bases.
Hobby knife
Vaseline
Greenstuff
Some round lids, ideally different diameters and thicknesses
A non stick surface - I've found magazines still in plastic wrappers useful.
Get everything together and have one attempt first to get the idea before you try to do too many at once.
Step 1. Mix your greenstuff 1:1 as normal. No need to add Vaseline at this stage
Step 2. Run a small amount of Vaseline on the end of the knife and on the non stick surface. You don't have to do this each time just periodically to avoid sticking, say once every 4 bases.
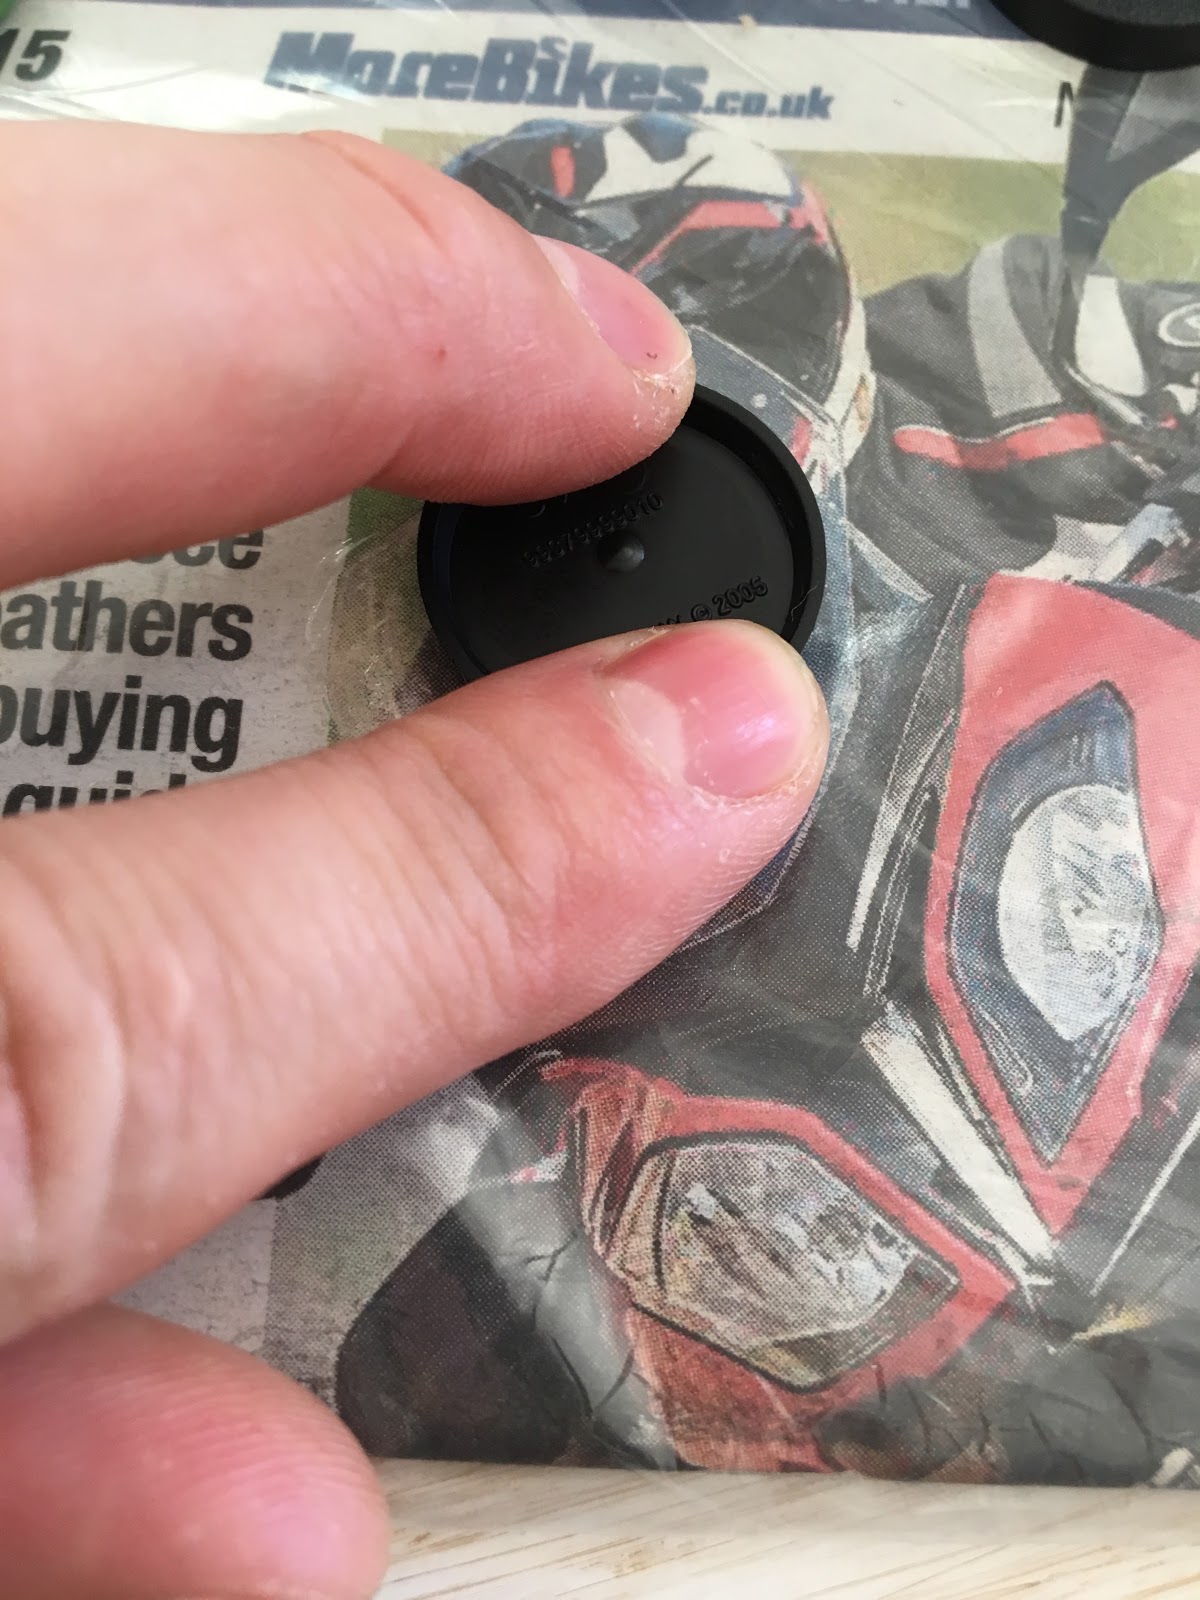
Step 3. Break off a bit of greenstuff, about what is shown in the picture for a 25mm base, and stretch it across the base to a thickness of no more than 1mm ideally. A little goes a long way.
Step 4. Now press this face down against the Vaseline area on the non stick surface and move it in circular motions to smooth it over. Don't worry if it spills over the edge for now. Keep pressing in different areas until you get a smooth finish. Even pressure is key here or else you may end up with one edge being too thick and the opposite edge to thin so as to show some of the black base through the green stuff.
Step 5. Using a sharp knife with some Vaseline on the tip, cut away any excess from around the edge. Don't worry about bits on the base rim as they can always be filed off when everything has set. .
Step 6. Using your lids, press firmly to make geometric shapes on the bases. There's no real right or wrong here but I try not to overlap them too much. If you don't get an even depth when you first press, line the lid back up and try again.
Step 7. If indenting the pattern has disrupted the surface of the base, give another gentle press onto the non stick surface.
Step 8. Allow to dry and repeat. There's no reason you can't do say 10 bases at a time for each step rather than 1-8 for just one at a time. Whatever suits you best.
There we have it. That's all there is to it. See some examples of them (before I perfected he technique) below, though bear in mind that as I wasn't using the lids to make impressions in he green stuff most of the impressions are free carved with a hobby knife - there's no reason you can't include some of this in your designs for variety. Simply paint in your base colour, paint a shade darker in the recess and a shade lighter around the edges. Cheers.
I am about to make the transition from my marine projects being better stage and non-marine projects taking a back seat, to the reverse. This will entail only ticking the final few boxes on my marine projects over the next few months while spending more time on both finishing up older no -marine projects as well as bringing some new armies to the fore, namely harlequins, talons, admech and genecults.
Presently I am assembling my harlequins which I accumulated during the release of death masque. I'm almost there with assembling everything and have now turned my attention to basing. I had always intended to use the same basing scheme with them as with my alaitoc eldar, and with the introduction of the ynnari I also intend to rebase my dark eldar in the same way so as to add unifomirty to the aeldari.
Previously, my basing theme was wraithbone, in this case an ulthuan grey shade, with swirling geometric shapes on them. This was designed to fit somewhat with the shapes seen on the wraithlord 60mm base. It was quite simple to execute, by pressing a layer of greenstuff atop the base and then carving some swirls into it. However, over time I have perfected it somewhat to the point where you can make a base in less than 2 minutes and so I thought I would share it as a tutorial.
What you'll need:
Plain bases.
Hobby knife
Vaseline
Greenstuff
Some round lids, ideally different diameters and thicknesses
A non stick surface - I've found magazines still in plastic wrappers useful.
Get everything together and have one attempt first to get the idea before you try to do too many at once.
Step 1. Mix your greenstuff 1:1 as normal. No need to add Vaseline at this stage
Step 2. Run a small amount of Vaseline on the end of the knife and on the non stick surface. You don't have to do this each time just periodically to avoid sticking, say once every 4 bases.
Step 3. Break off a bit of greenstuff, about what is shown in the picture for a 25mm base, and stretch it across the base to a thickness of no more than 1mm ideally. A little goes a long way.
Step 4. Now press this face down against the Vaseline area on the non stick surface and move it in circular motions to smooth it over. Don't worry if it spills over the edge for now. Keep pressing in different areas until you get a smooth finish. Even pressure is key here or else you may end up with one edge being too thick and the opposite edge to thin so as to show some of the black base through the green stuff.
Step 5. Using a sharp knife with some Vaseline on the tip, cut away any excess from around the edge. Don't worry about bits on the base rim as they can always be filed off when everything has set. .
Step 6. Using your lids, press firmly to make geometric shapes on the bases. There's no real right or wrong here but I try not to overlap them too much. If you don't get an even depth when you first press, line the lid back up and try again.
There we have it. That's all there is to it. See some examples of them (before I perfected he technique) below, though bear in mind that as I wasn't using the lids to make impressions in he green stuff most of the impressions are free carved with a hobby knife - there's no reason you can't include some of this in your designs for variety. Simply paint in your base colour, paint a shade darker in the recess and a shade lighter around the edges. Cheers.
Sunday, 3 September 2017
Eldar titan resurrection
Hi all
Been a little while as I've been busy with Luna wolves and sons of orar. However, I have always planned to turn attention toward a few non marine me side projects right up until the end of the year when I plan to turn to non marine projects, namely harlequins, admech, talons and genecults. The other day I therefore turned my attention to a few Xenos side projects. A few necron and tau characters are now assembled and basecoated, but more importantly I turned my attention to my eldar titans.
The revenant has been sitting pretty with a grey basecoat on it for sometime now. In fact, since the day that I transported them to Alex's house for spraying and the phantom collaped into pieces on the way out of the door! I've now used some skeleton bone spray from army painter to give it some proper colour as can be seen below.
As for the big chap himself, here is a pic of the pose I achieved for the phantom initially and the subsequent collapse:
It spent just over a year in pieces in a draw awaiting me to finally try and put it back together. As it happens it wasn't such a big deal in the end. A few hours of minor repairs (most damaged areas were on the joins anyway), some reposing of the legs to give it both feet on the ground for stability and extra lengths of brass rod being added have led to its resurrection.
It was also given a few coats of the skeleton bone spray and I even went a step further and started to add the blue colouring on it to match my old school Alaitoc wraith constructs. WIll be a while until I add any more work to them but for now at least I give you the happy couple. Cheers.
Saturday, 21 November 2015
Huge Eldar project underway - the phantom menace...
Greets folks,
A couple of months ago I posted about eldar superheavies, having previously built a revenant and, for that post, a cobra. I also hinted in that post that a 3rd Eldar superheavy would follow, and after a few weeks of tinkering, sanding, drilling, gluing etc it is finally starting to come together. Without further ado, let me introduce you to by far the largest model in my collection - a phantom titan.
I decided before he'd even arrived that, as with my wraithknight and revenant, I wanted him to be in a pose to convey motion rather than a static one. Way I see it is the larger imperial titans and Ork / nid big chaps do static pretty well, but for the Eldar it should all be about graceful, fast movements. To this end I searched for images of non-static phantoms and found none. This should have rang alarm bells in my head but I continued on the path to glory.
It's daunting to take on a project of this scale but I found it useful to separate the phantom into about a dozen seperate bags and tackle one part at a time. The head and body were relatively easy, although sanding everything down takes quite some time. Obviously I washed everything in advance to avoid flaky paint later.
When it came to the arms I had to pin the shoulder joints due to the weight and massive gaps between the body and shoulder parts. This went pretty well and gave enough stability. The right arm I decided would be swappable between glaive and d-cannon, and rather than an elaborate scheme with magnets I simply opted to put a protruding brass rod sticking out from the elbow (with a slight upward incline so the weapon wouldn't slide off) and then slide the weapon on through a pre-drilled hole. The hand and chest gun options will be magnetised though.
So far I had only used 3 metal pins (4mm brass rod) letting gravity and superglue do the rest. Now the real challenge. I had bought a wooden mount to serve as a base and opted to go for a single leg to attach with the other leg trailing as if running. The body would be angled leaning forward slightly to aid balance and give the model the appearance of momentum. The trailing leg went together initially without a pin, but an unfortunate drop broke the knee joint and I ended up putting a pin in for stability.
By far the biggest challenge was that final leg that would make him stand on a base. I pinned both hip, knee, ankle and put an additional horizontal pin in the foot as well as one connecting the foot to the base. After some messing with the hip and especially ankle angles, I finally got him stable. Last thing was to etch some Eldar style swirls onto the wooden base using my new rotary tool, which is a godsend for fine sanding and such things.
Well this is where things stand for now.He's still got a bit to go before being ready to spray. I need to add some chest plates, attach a leg fin and build some Eldar architecture onto the base for decoration. Realistically he won't be ready to undercoated until end of the year I expect. I'm hoping to dabble with an airbrush for all 3 of the eldar superheavies when the weather improves, but for now will focus on Luna Wolves and exams to the end of the year. Cheers.
Thursday, 29 October 2015
scratchbuilt morkanaut FINALLY completed.
Hi folks. It seems like forever ago I started work on this chap. Idea was for him to be a morkanaut with the actual gw kit built as a gorkanaut. I started this one before I got the gw kit and then refined it later with parts from the actual kit. the Achilles heel of this project has been that I was never happy with the ideas I came up with for the legs. It's not until recently I acquired some stormraven spares that gave me what I needed to get the job done. Mostly built from stormraven, ork bomma, sm tank and an industrial kit. And here he is, slightly taller than his pal but sufficiently orky.
Wednesday, 29 April 2015
Guest spot army showcase: Nurgle marine army by 'Old Two Eyes'
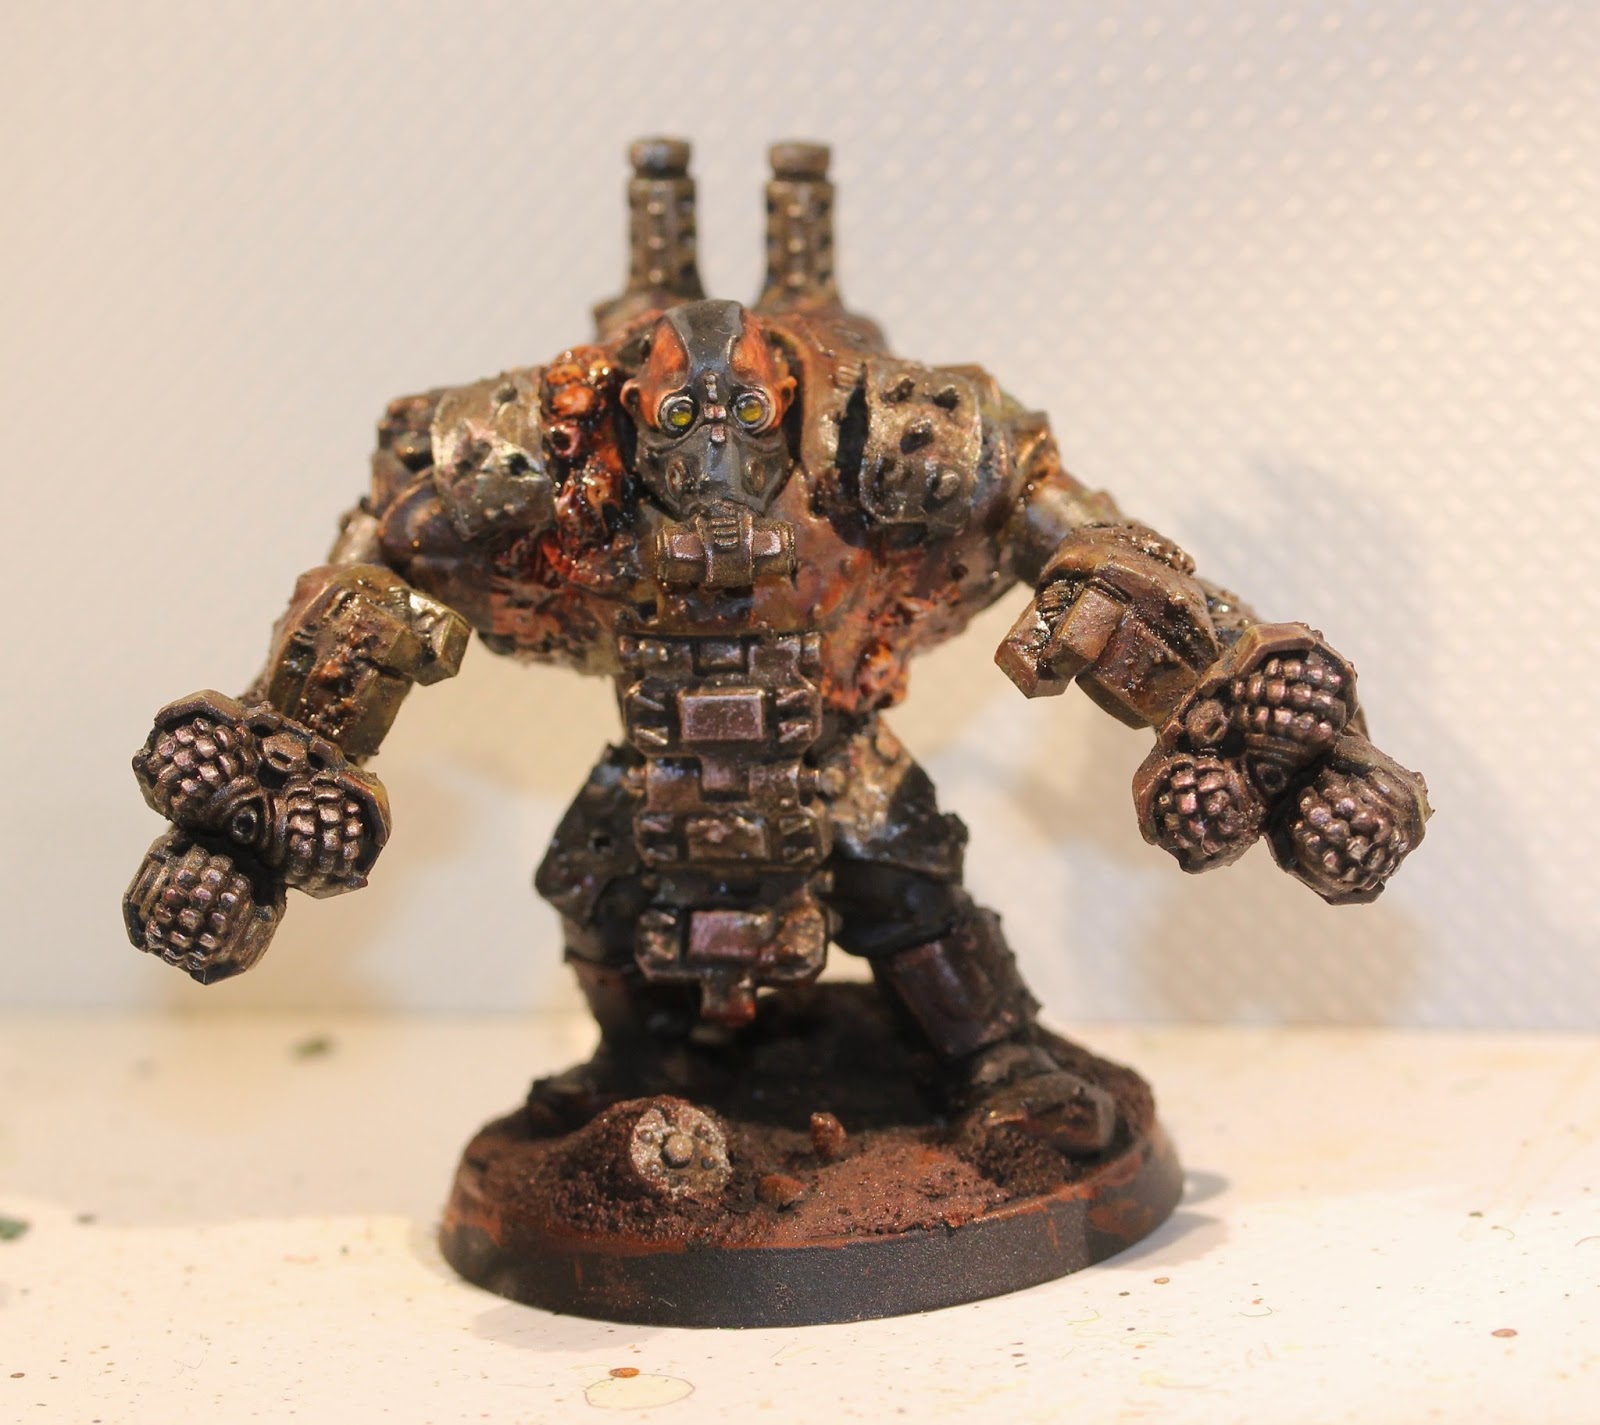
'Since my last chance to post here I've been busy with plenty of plague marines- my first experience building or playing with any kind of space marines- lots of fun. They look great alongside my nurgle daemons and are the start of a project to have armies of both daemons and c:sm for all of the four chaos gods.
First of my Lord of Nurgle, a stern character, based upon the classic warhammer kit with a few additions. Not sure if he's survived a game yet (4 goes so far) but he has killed a Wraithknight and an Ork Warboss so I've no complaints.
Next up my Sorceror, basic FW kit with the spare axe-blade from the warhammer nurgle lord. Dynamic and obese at the same time- the model is a real favourite of mine.
Four squads of five plague marines- plenty of green-stuff, weathering, typhus corrosion, a plethora of washes and shiny varnish. Just the way I like to paint- forgiving of mistakes but with an atmospheric end product.
Mutilators! Ogryn bodies and centurion siege drills. First saw action last week and chewed up a Morkanaut before falling under a tide of killer kans. Again a pleasure to build and paint.
Obliterators- centurion bodies with landraider flamestorm guns and zombie heads. Whilst the mutilators look grim and determined, these guys are cursed living relics and look suitably rotten and squalid.
Sneak peaks of works in progress...
A forgefiend (have another like this half-built), a Heldrake and my counts-as Eversor, a hyper-infectious mutant. The latter fits the assassin's rule-set like a glove- he'll barrel in spewing bile and smashing heads before probably exploding. The 'come the apocalypse' rules may be detrimental but again are supported by the fluff- his own allies know well enough not
to get too close to him! I've also got 4 rhinos, 3 vindicators and a bunch of cultists on the go. Plenty to keep me busy... Thanks Jamie for posting up my stuff!'
Subscribe to:
Posts (Atom)


.jpg)